
2026
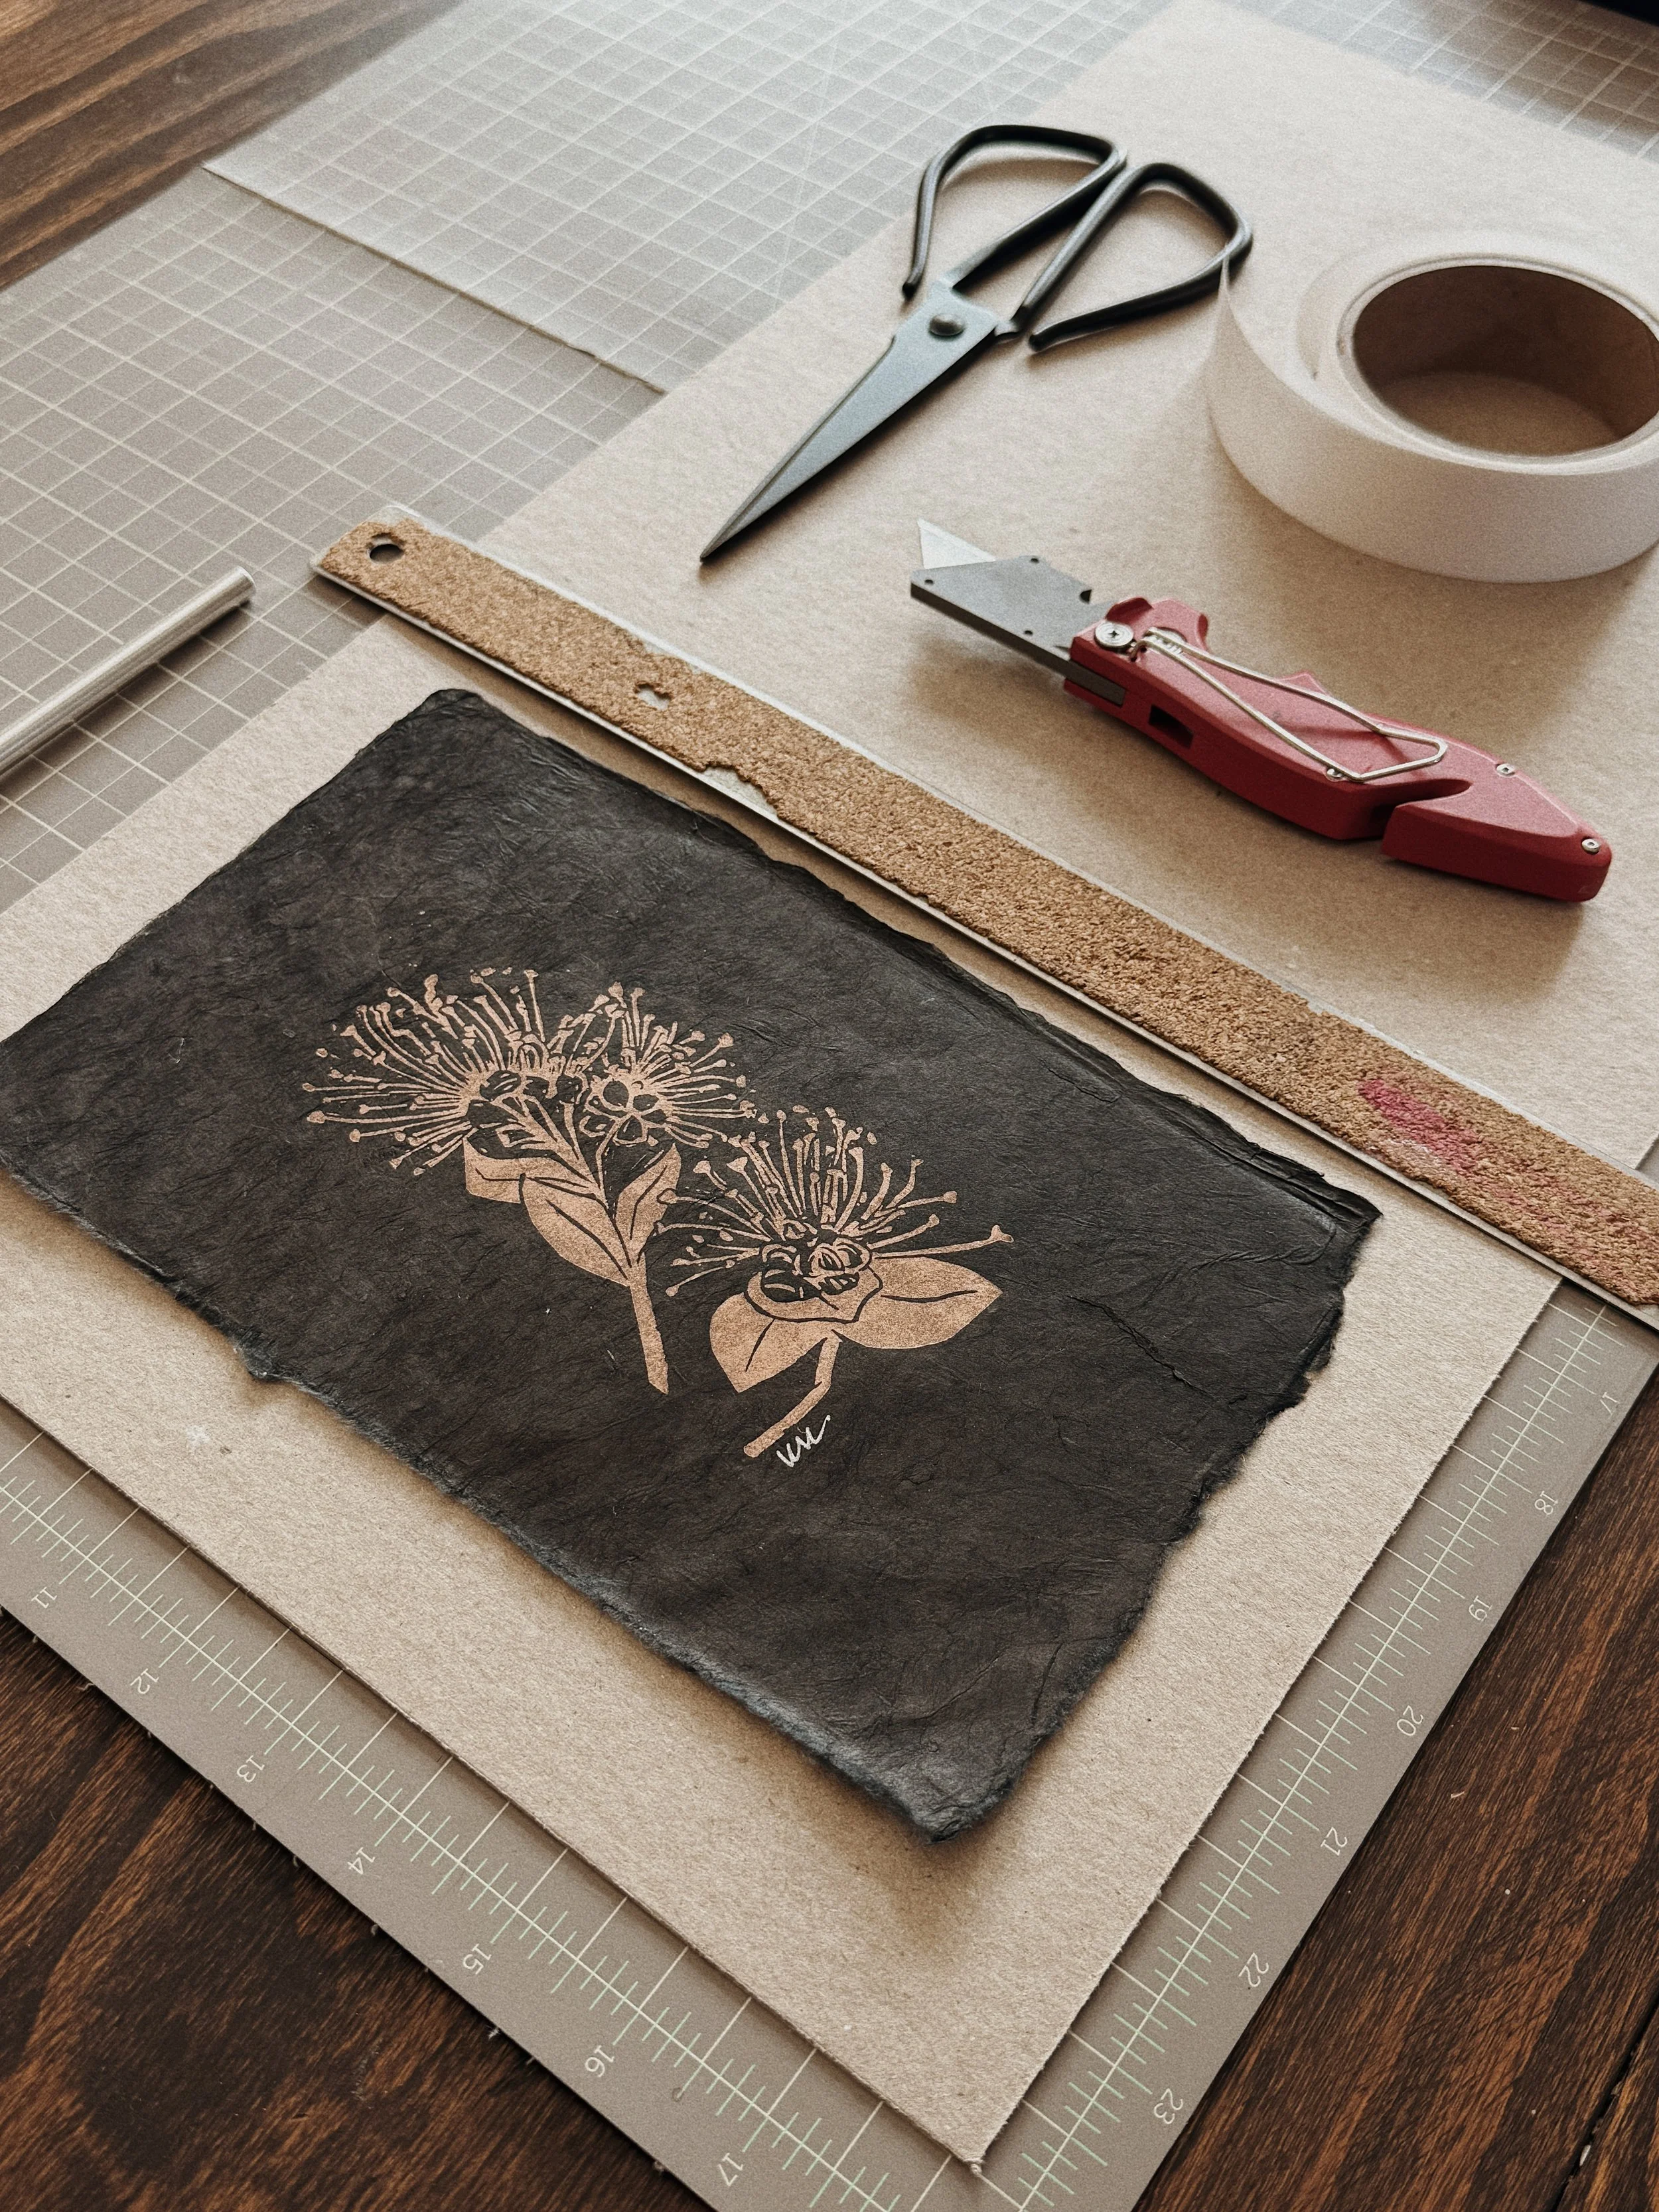
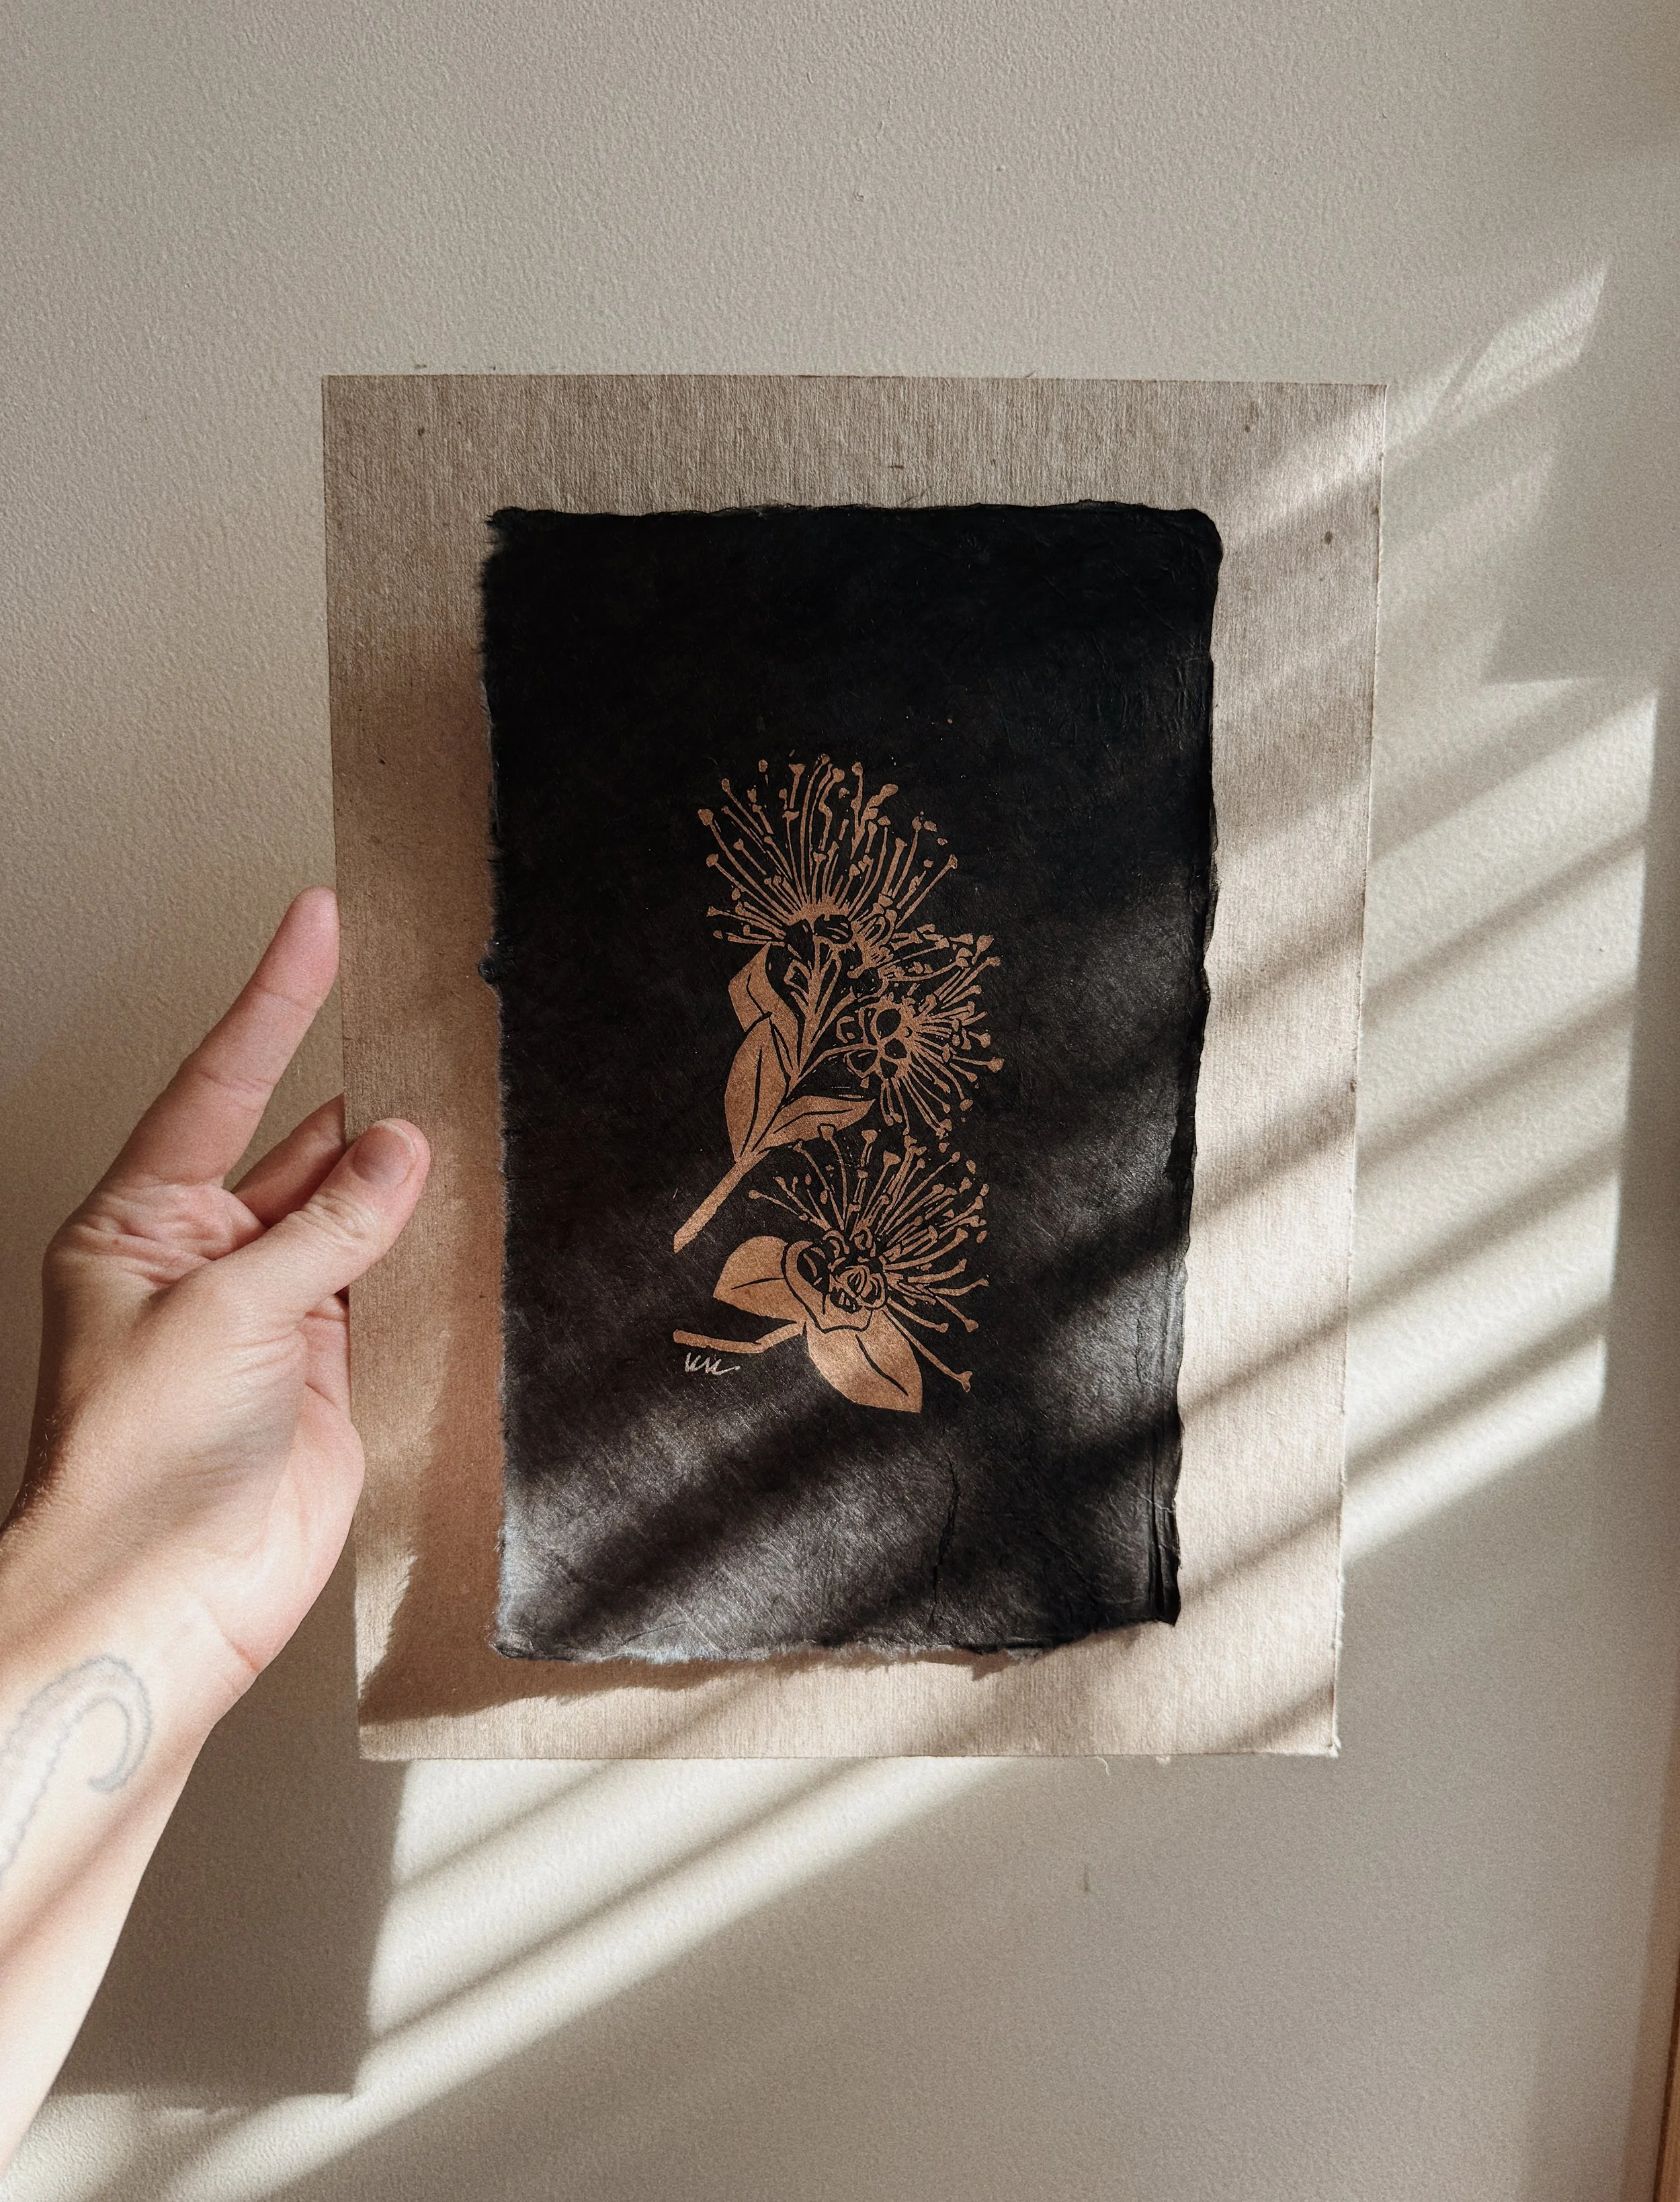
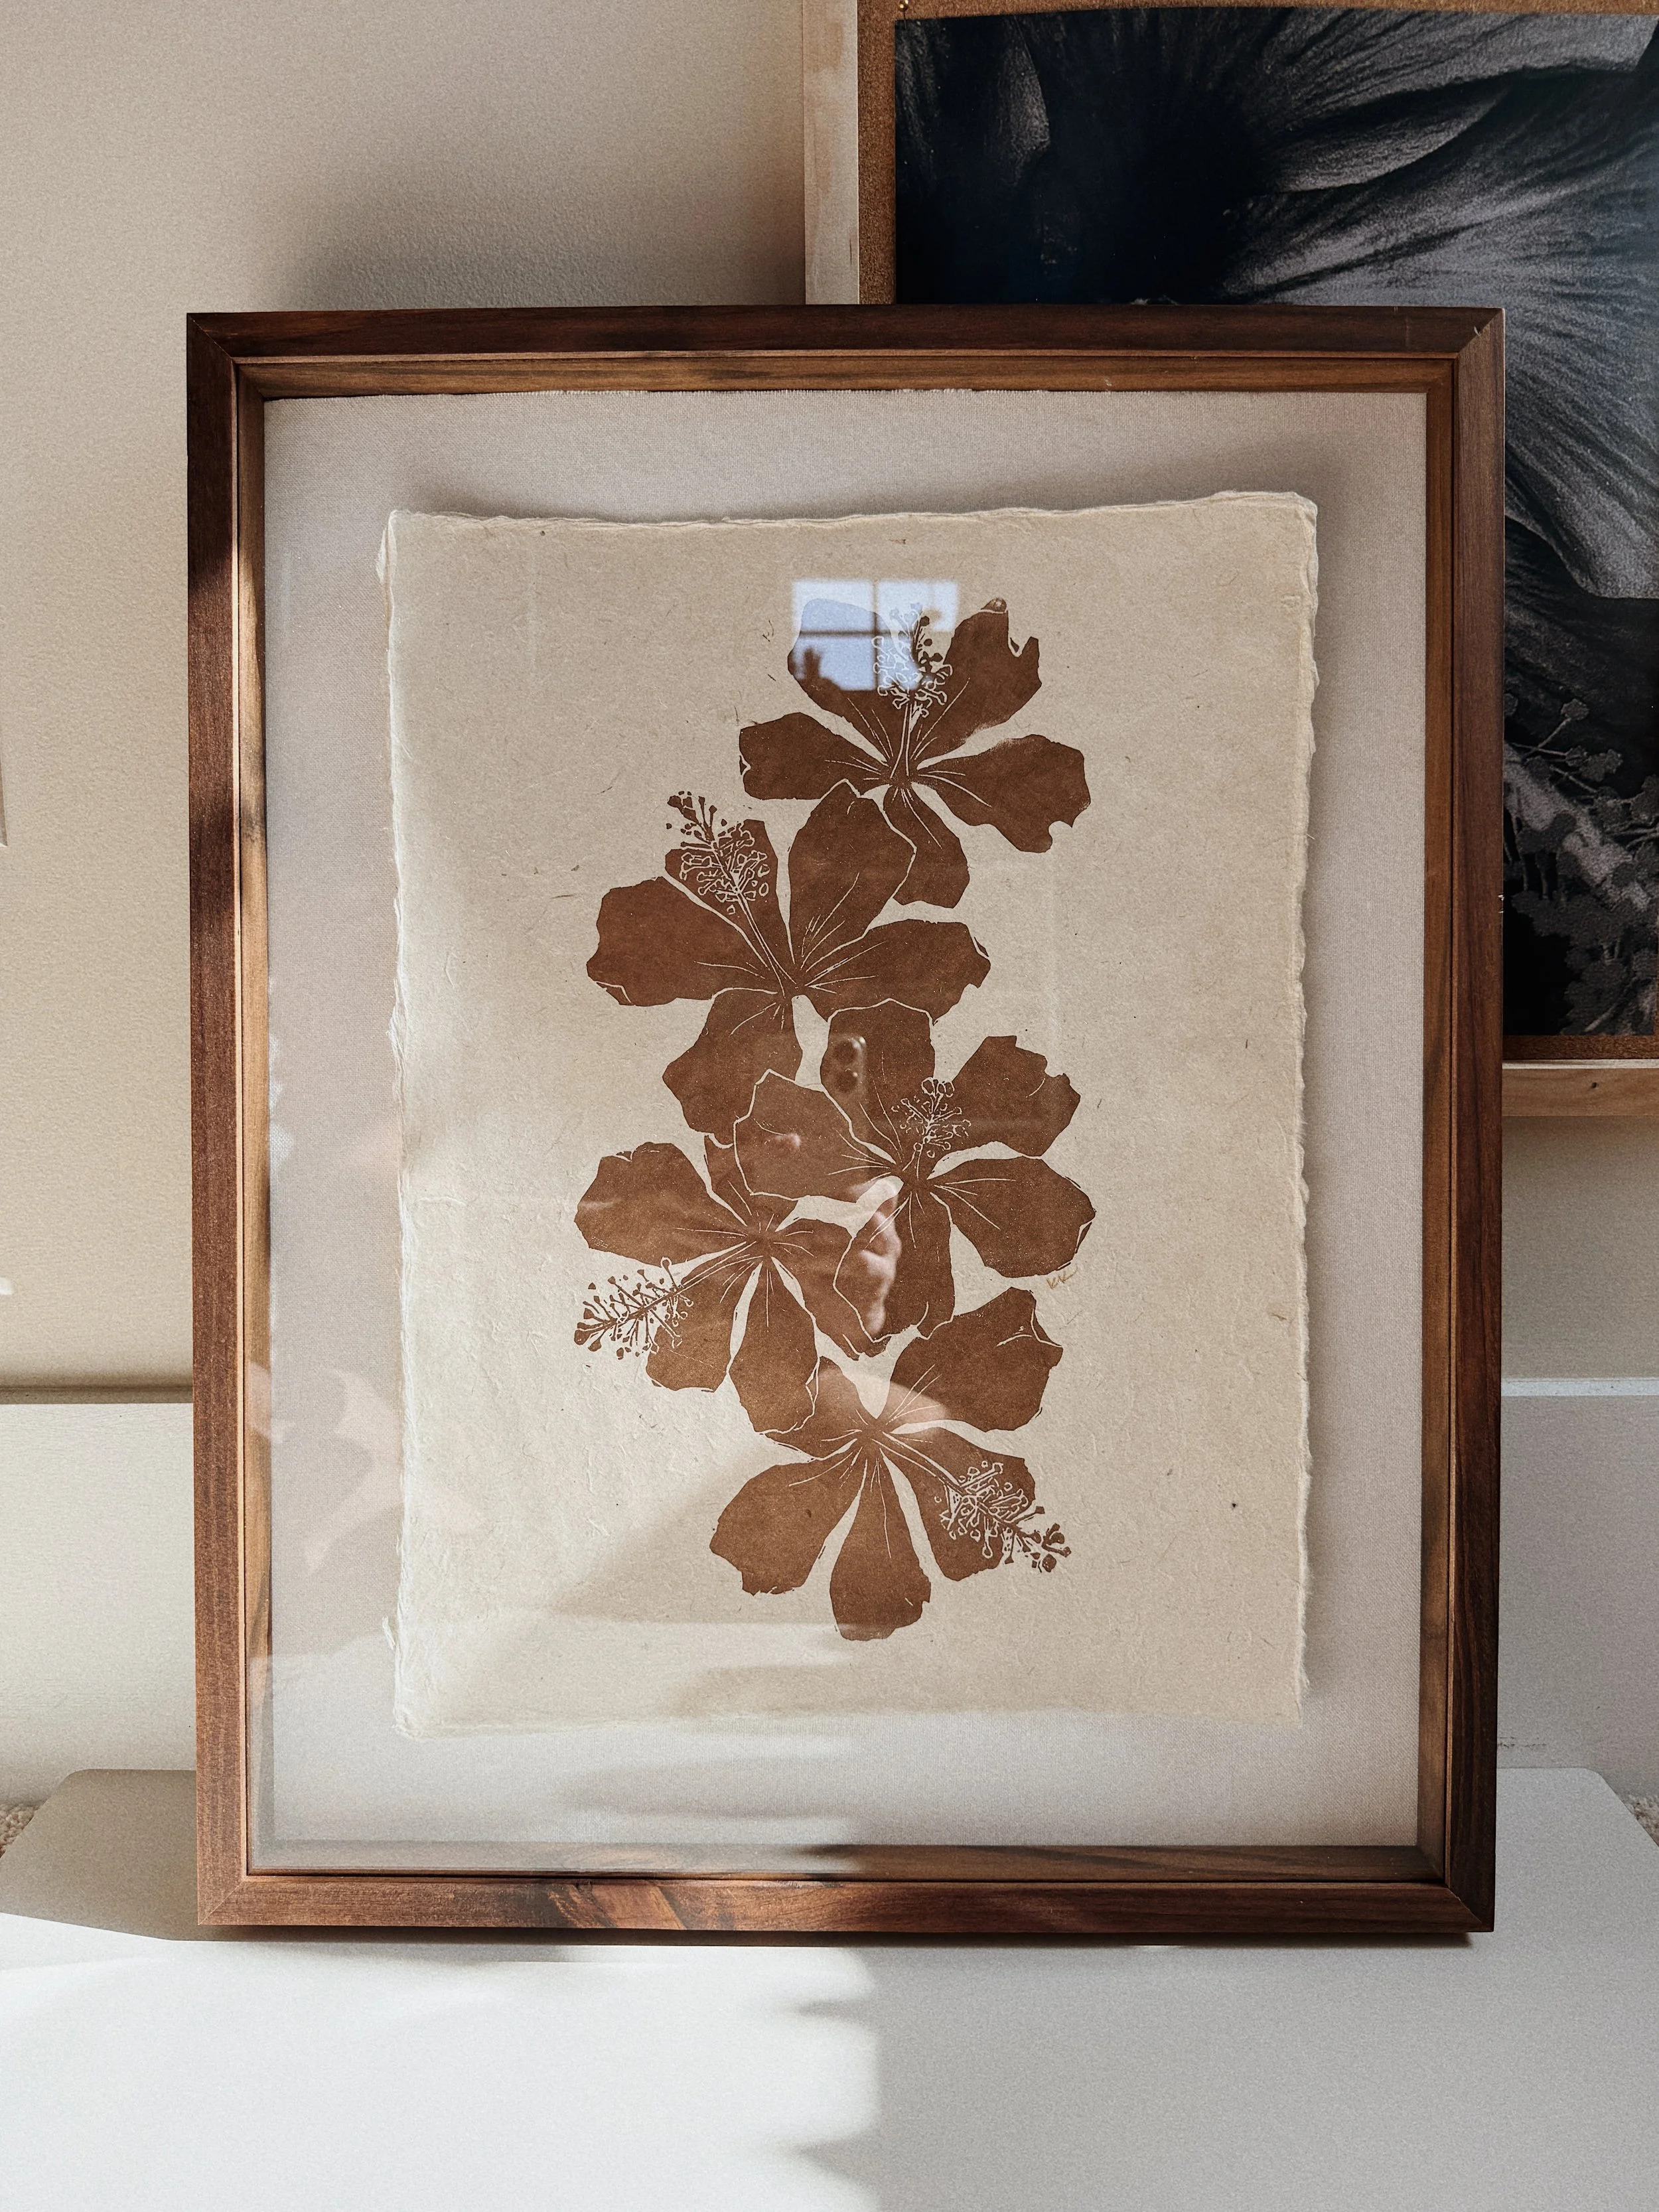
Float framing is one of my favorite ways to present handmade work. It allows the paper to breathe, honors the deckled edge, and gives the piece a quiet sense of space—like it’s resting in thin air.
Below is the method I use most often in my studio, especially for my lighter weight papers.
How to Float Frame Your Art
Materials You’ll Need
Your artwork
Mat board or archival/acid-free backing
(Not 100% necessary, but always best practice to prevent discoloration over time)
Linen tape (or other archival, acid-free tape)
Fresh cutting blade (X-acto or box cutter is fine, bonus points if you have a mat cutter!)
Ruler
Frame spacers (acrylic* or foam core)
*Acrylic ones can be purchased online, depending on the backing and type of frame you use will determine which you prefer to go with.
Shadow box or deep-set frame
A note on paper choice:
If you’re working with delicate or translucent paper, it’s worth testing different backing colors first to see what shows through. With my cream Lokta papers, I don’t fully mount them to foam core. Instead, I use a linen tape “hang” method so no harsh borders or shadows appear through the paper. With more opaque Lokta papers—like indigo, clay, or black—or even traditional printmaking papers, you can mount directly to foam core without issue.
Pro tip before you begin:
Wash and dry your hands, and clear your workspace. Light-colored papers especially love to pick up fingerprints, dust, and quiet smudges before you even notice them.
Step 1: Disassemble Your Frame
Carefully remove the backing, spacers, and glass (or acrylic) from the frame. Set the glass aside somewhere safe—you won’t need it again until the very end.
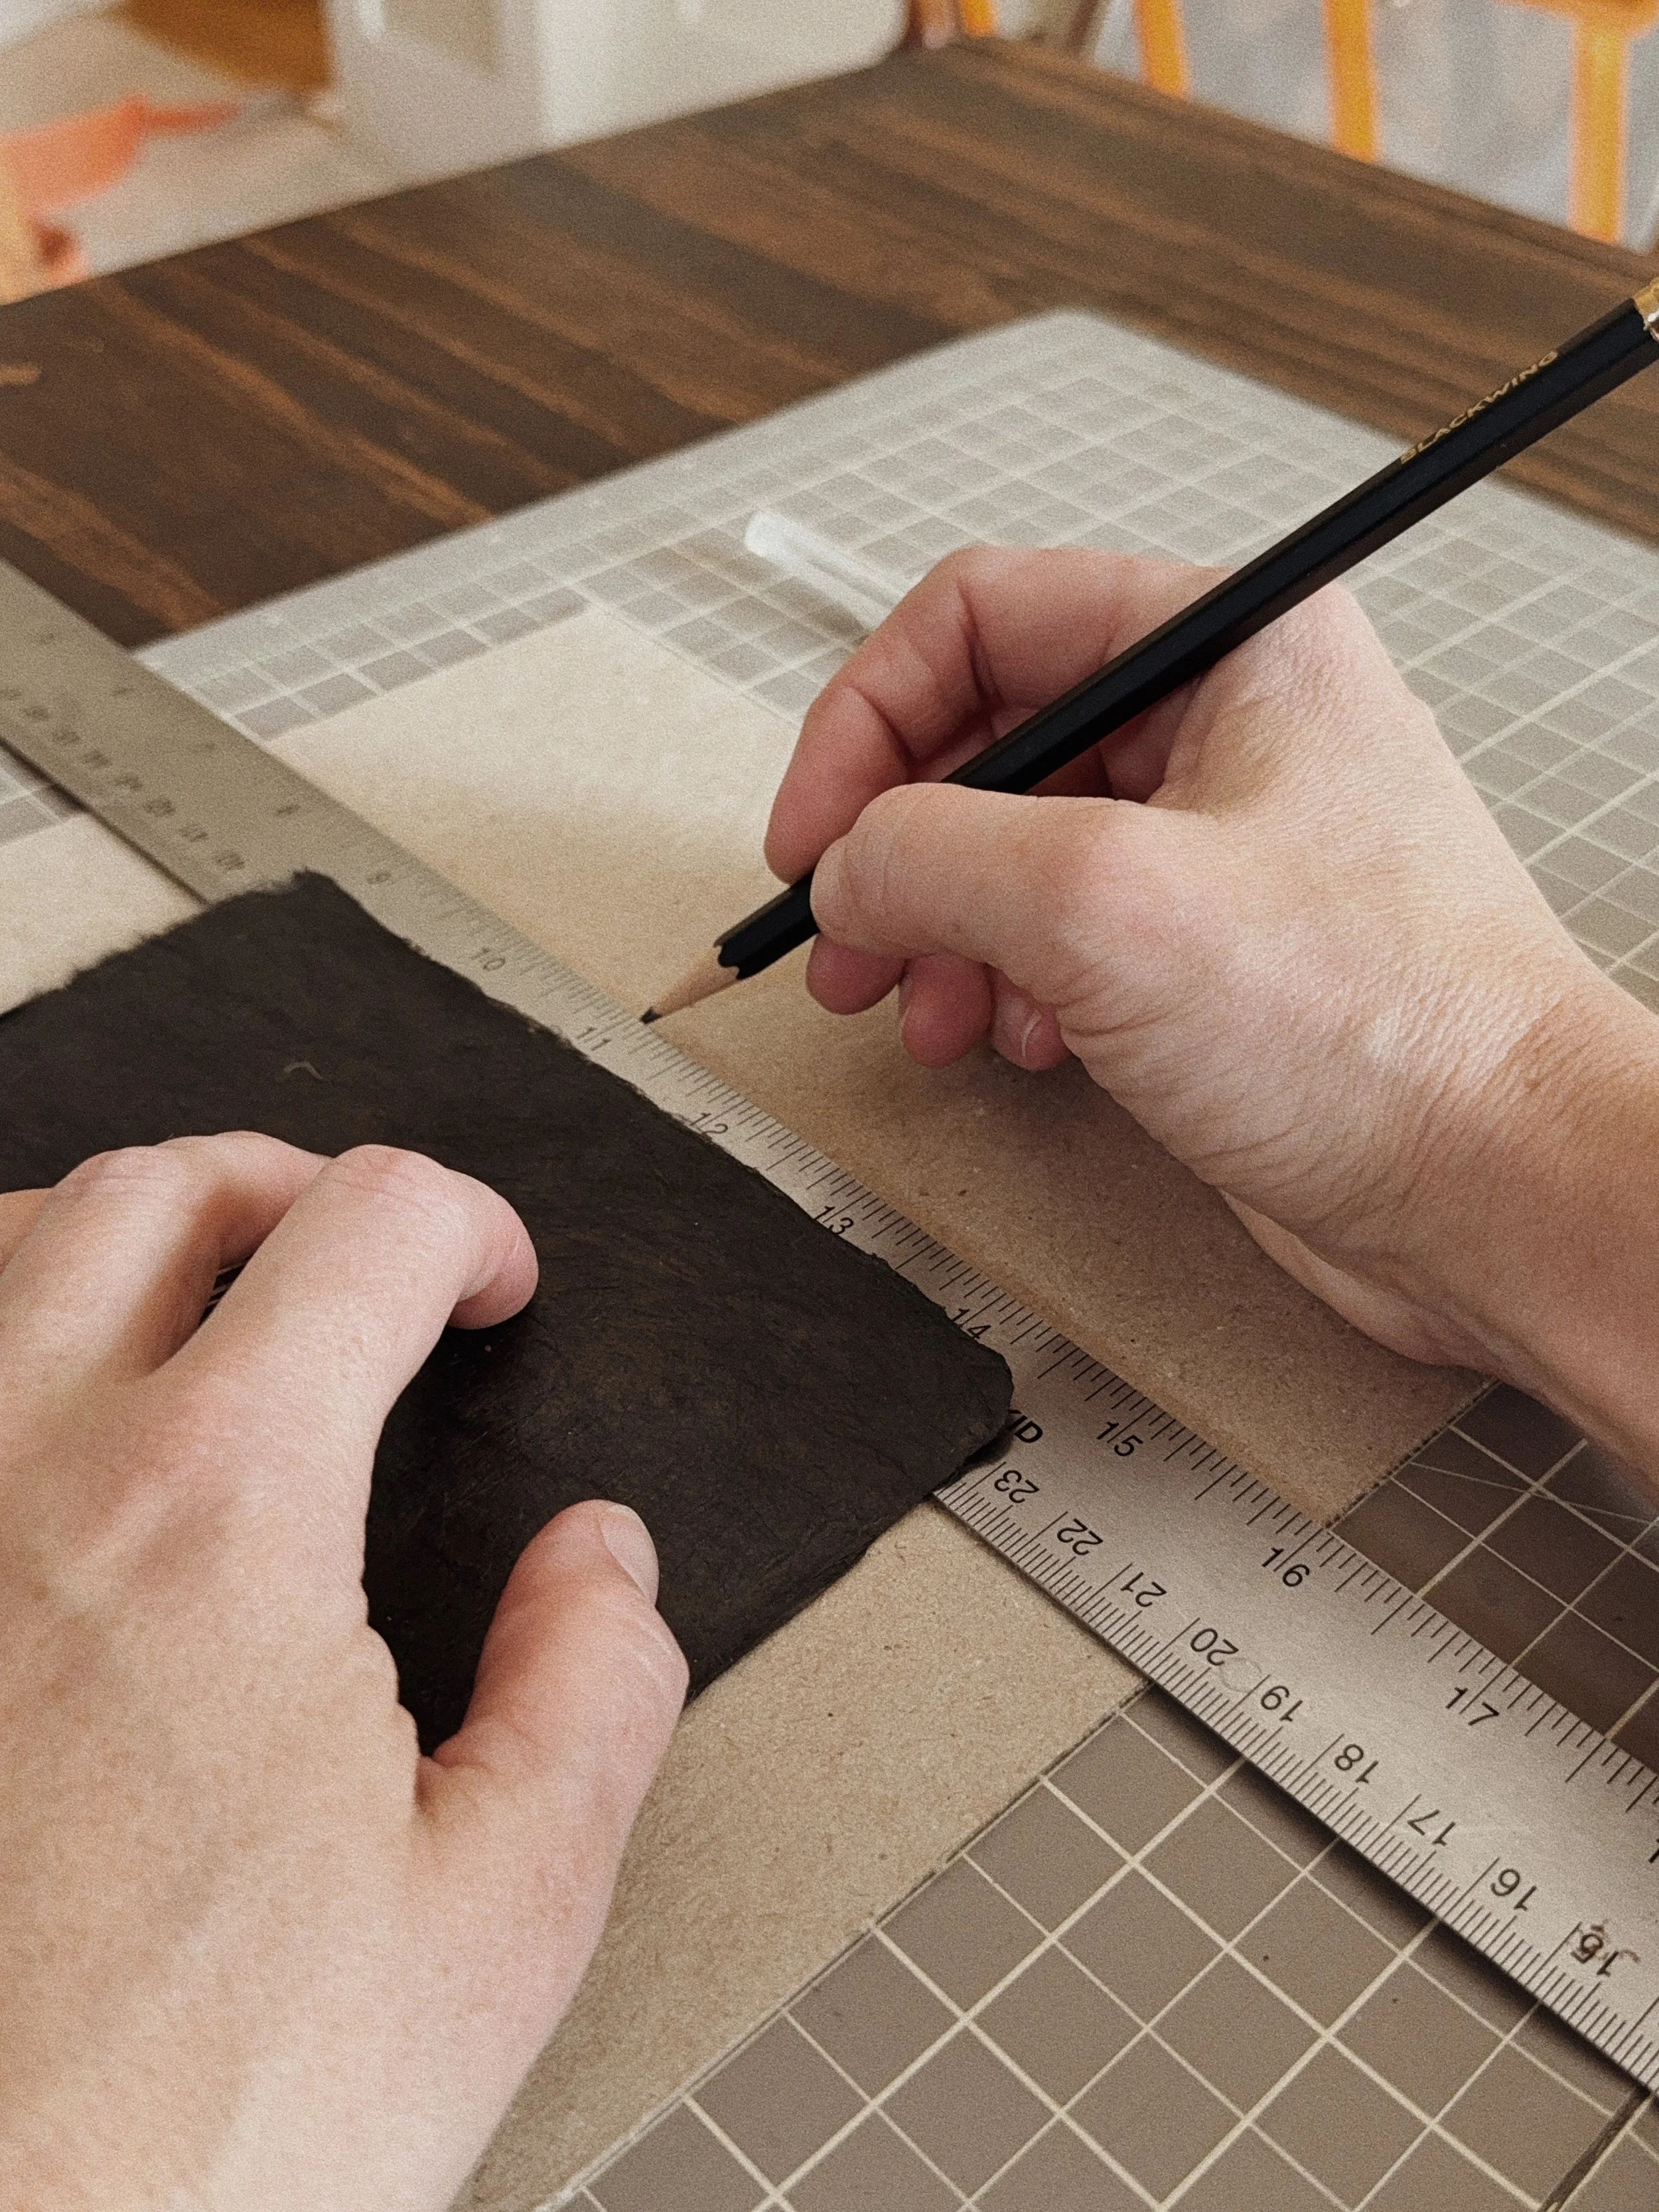
Step 2: Prepare Your Backing
Cut your archival backing or mat board so it fits neatly inside the frame. I generally keep this within 1/8’’ of the exact frame measurements to allow for breathing room. Especially when using wood frames as the wood can swell and tighten in different temperatures.
This will act as the visual “ground” for your artwork, so take some time here to decide what you like best. I love the look of a ‘not so white’ mat for creamy or lighter paper art and black on black looks amazing too. I also like to compliment textures. If you have the time and skill to create a fabric coated backing, the possibilities are endless for you there!
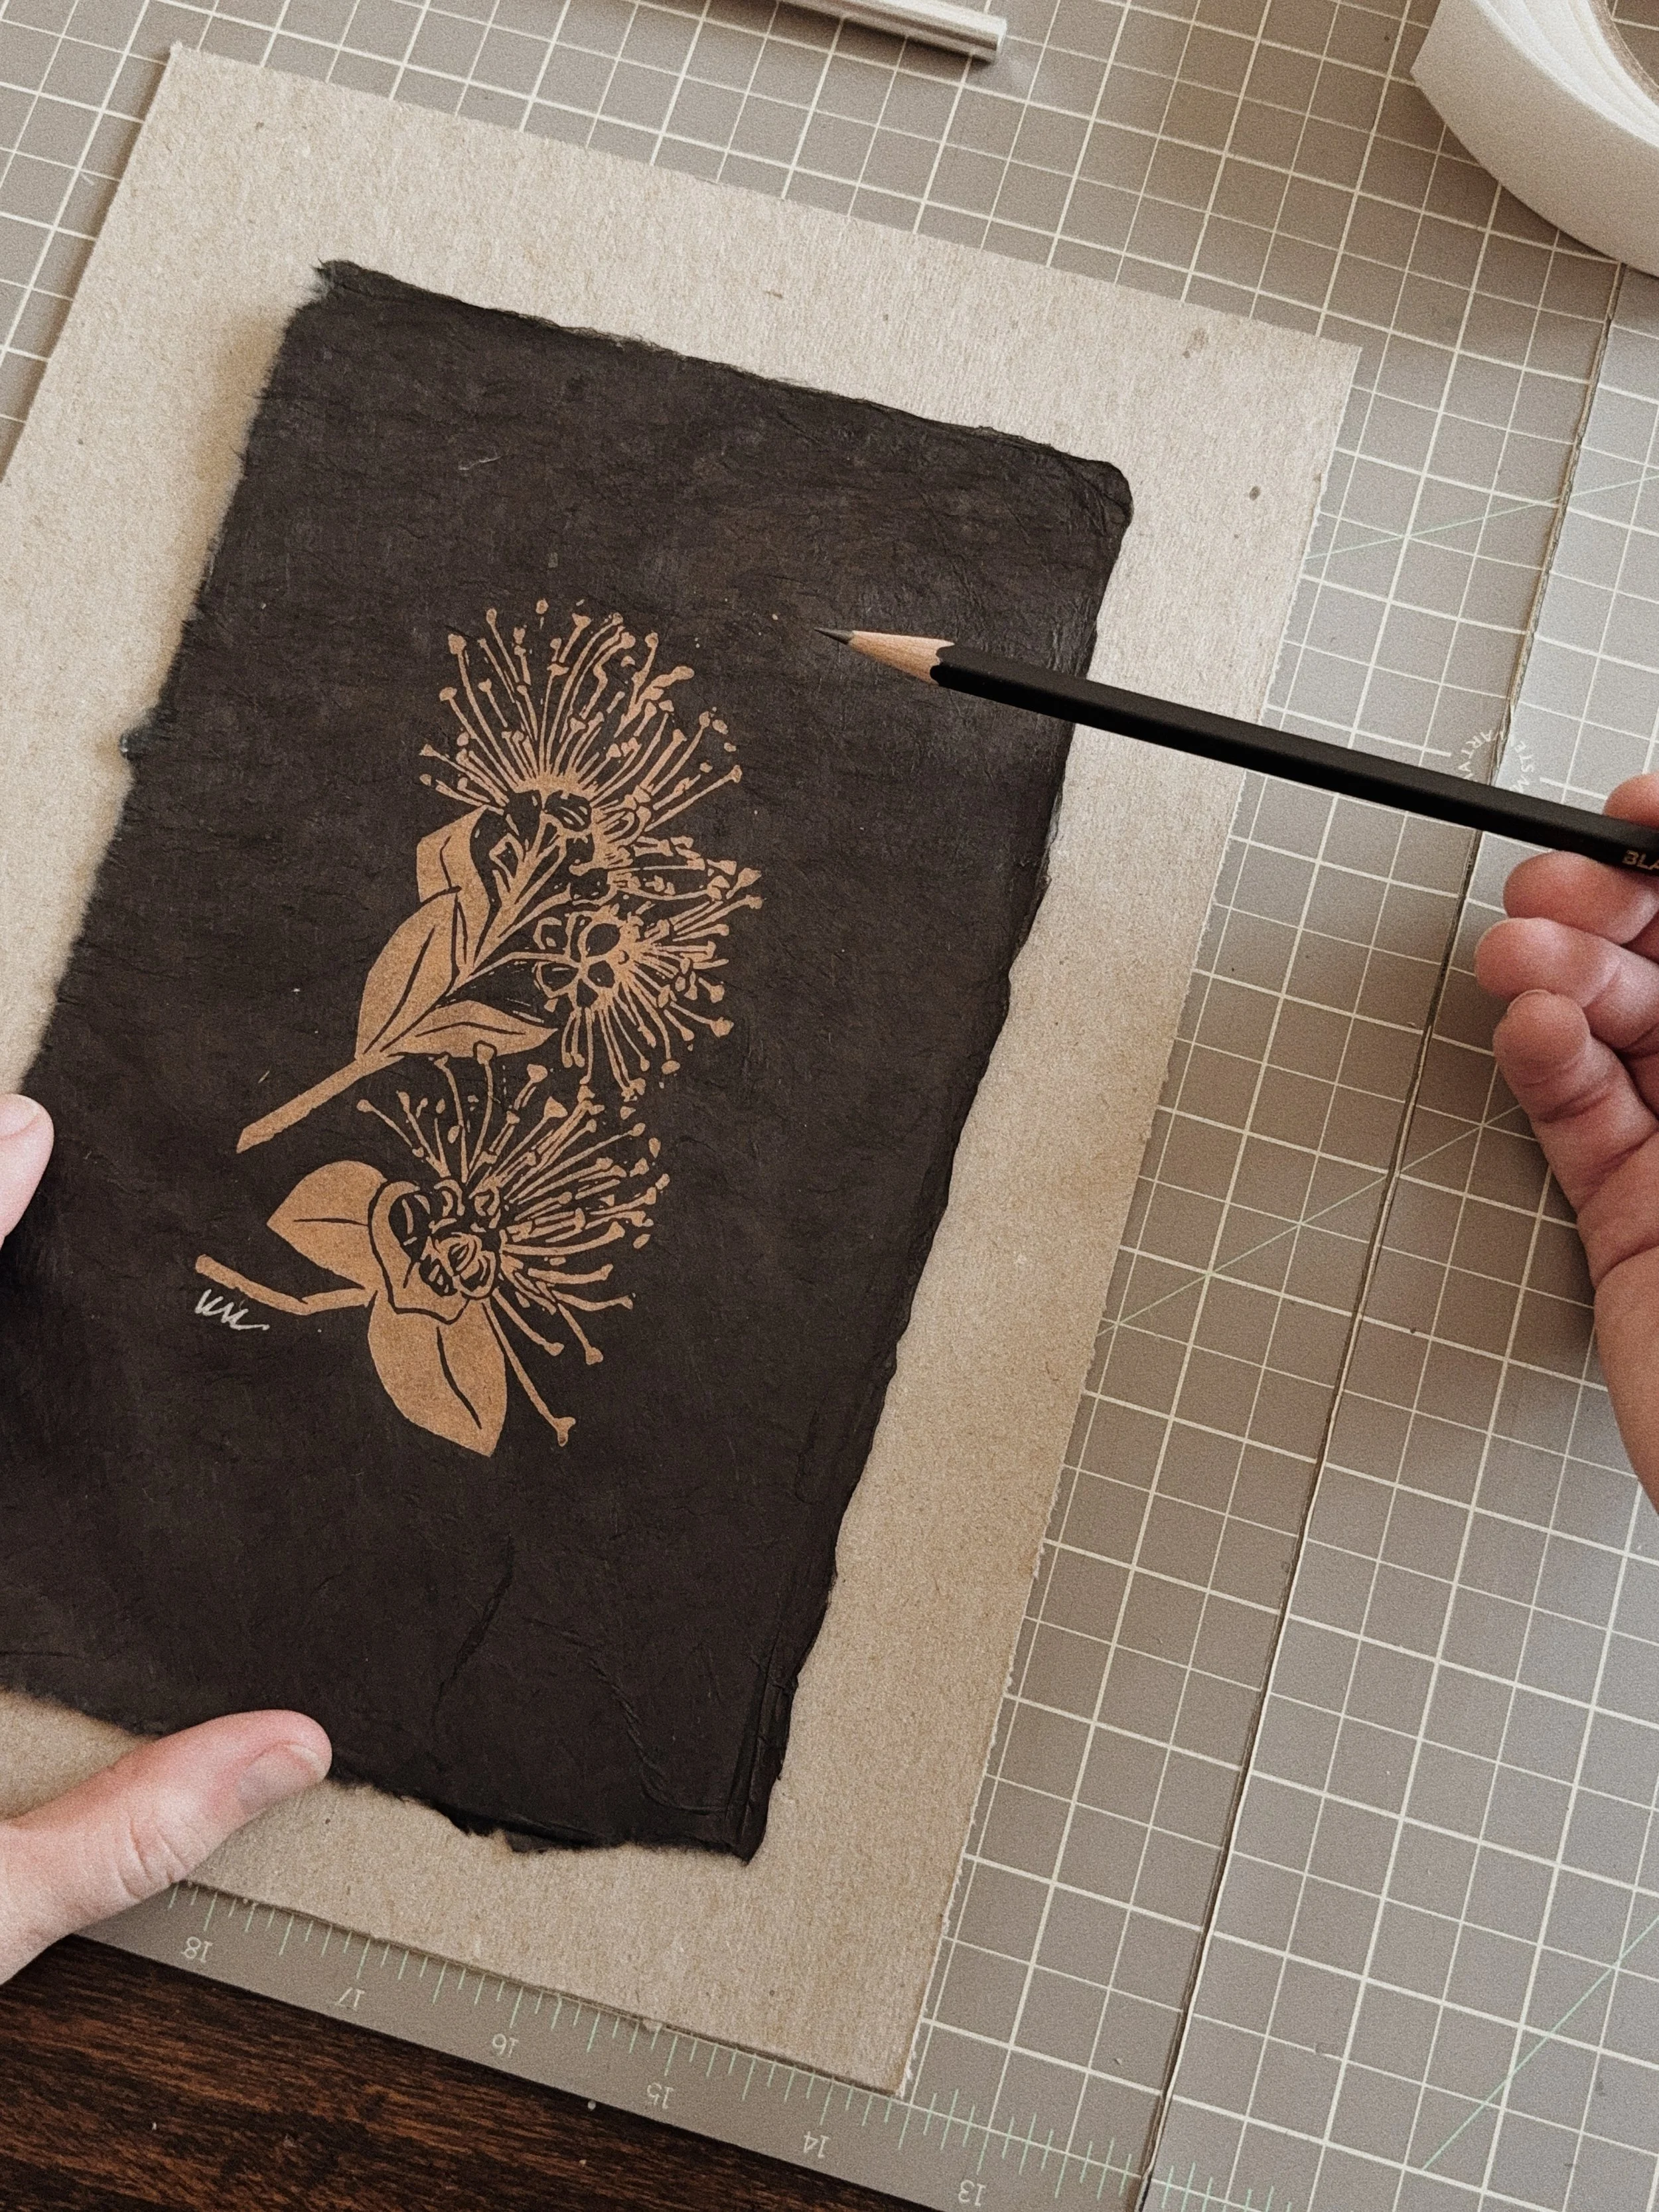
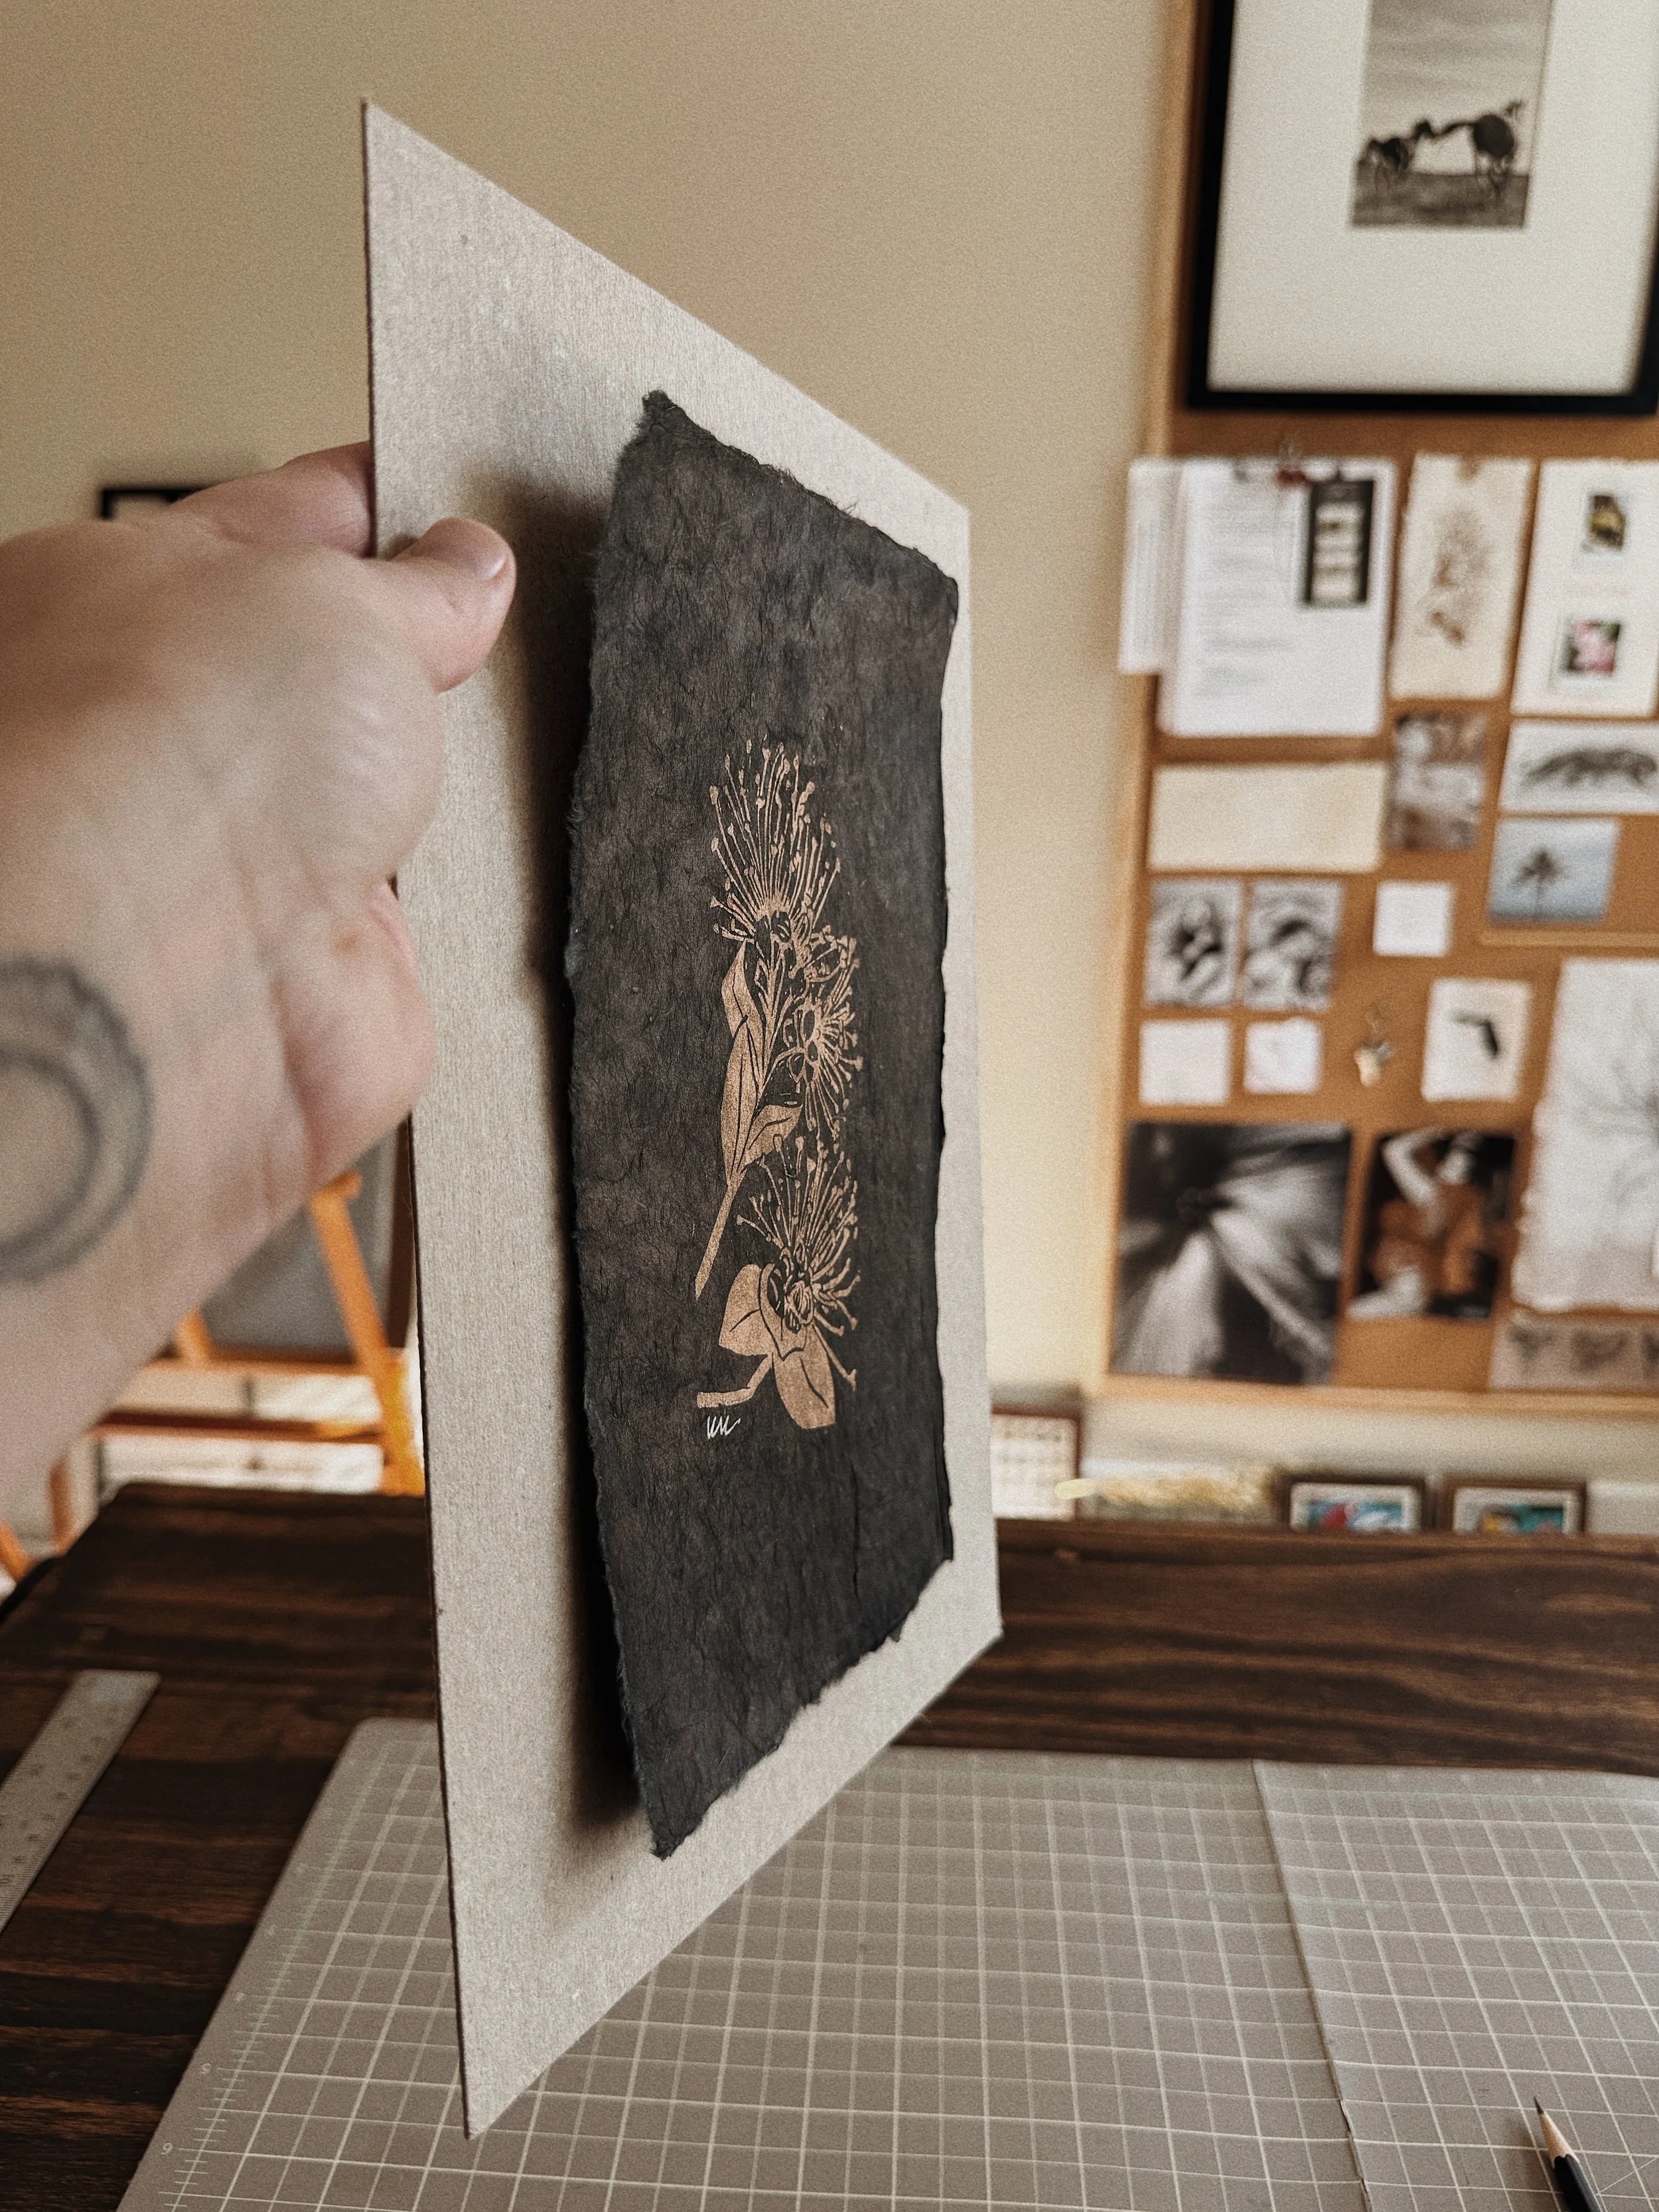
Hold your artwork over the backing and find your mounting placement. I don’t have math for you here, I use my eye and intuition as a guide to center things up to feel vs using a ruler. Float framing is meant to feel loose and organic, and the deckled edge is generally pretty forgiving using this method.
Step 3: Positioning the Artwork
Center your artwork on the backing
Step back
Look at it from a distance. If you have a friend who wants to craft along, here is a good place for a second set of hands to help and laugh along the way
Adjust until it feels right
There’s no rush here—this part is as much intuition as measurement
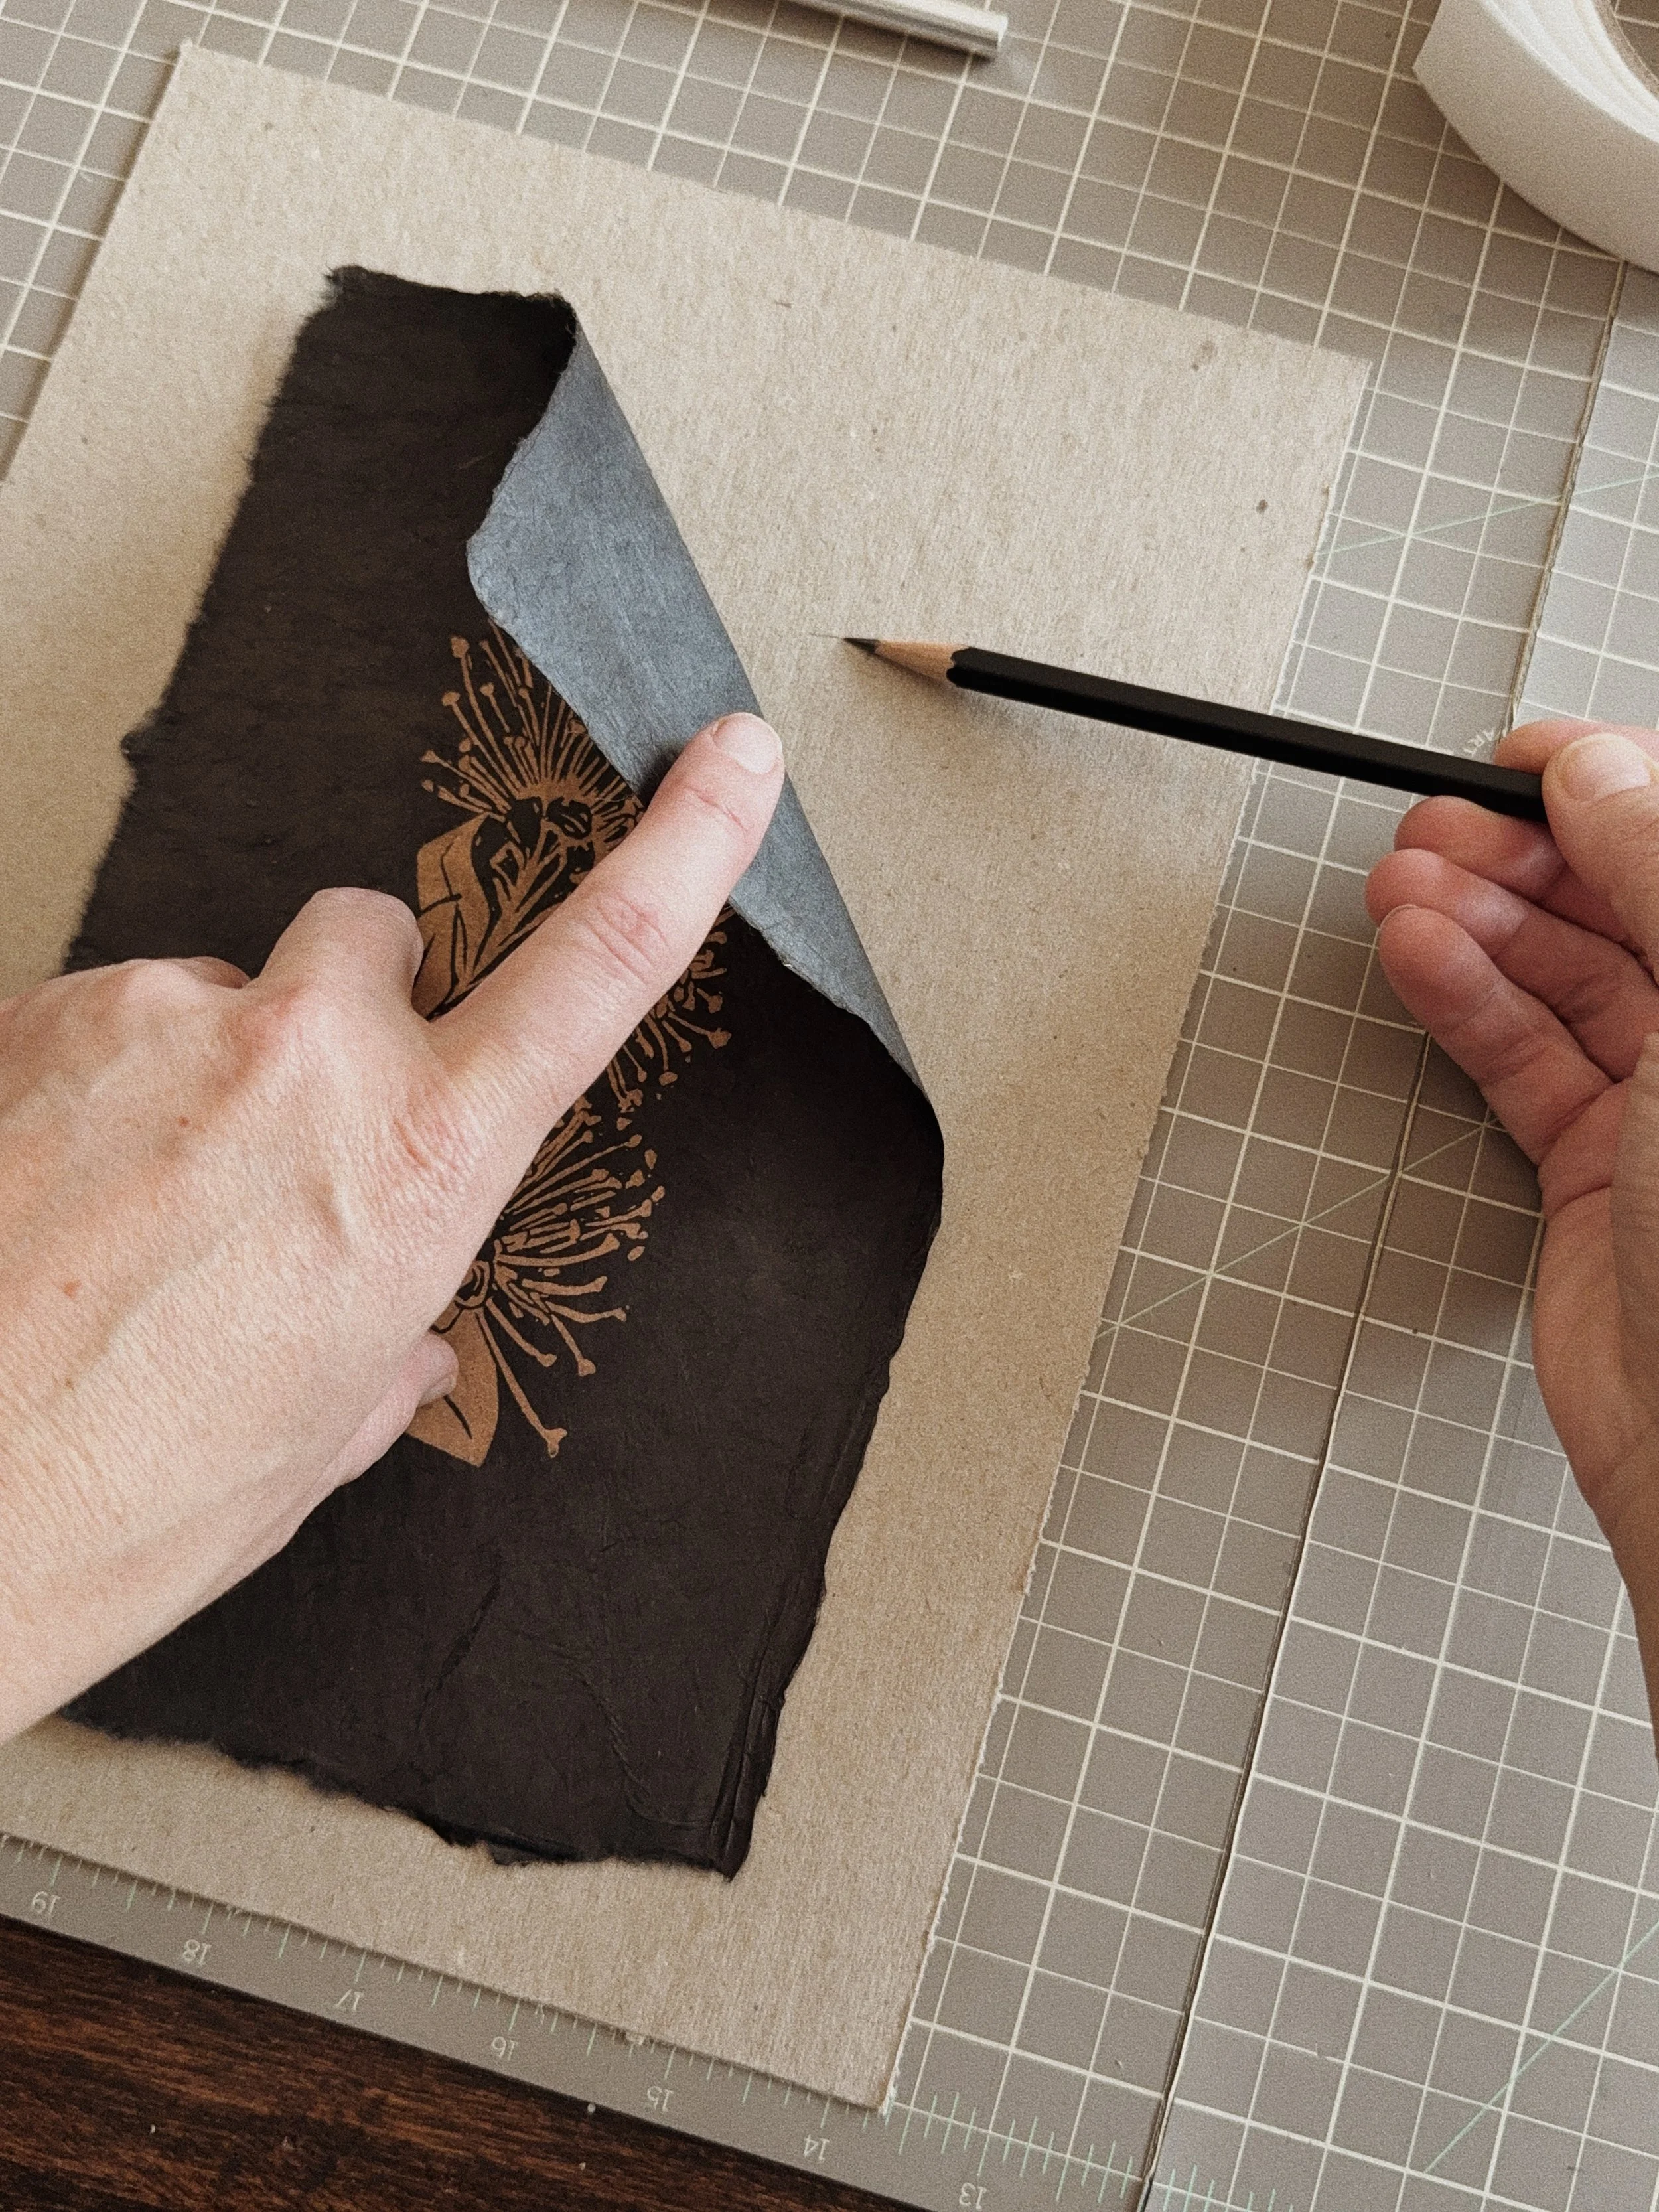
Step 4: Create the Linen Tape Hinges
Cut two small strips of linen tape, about 4 inches in length.
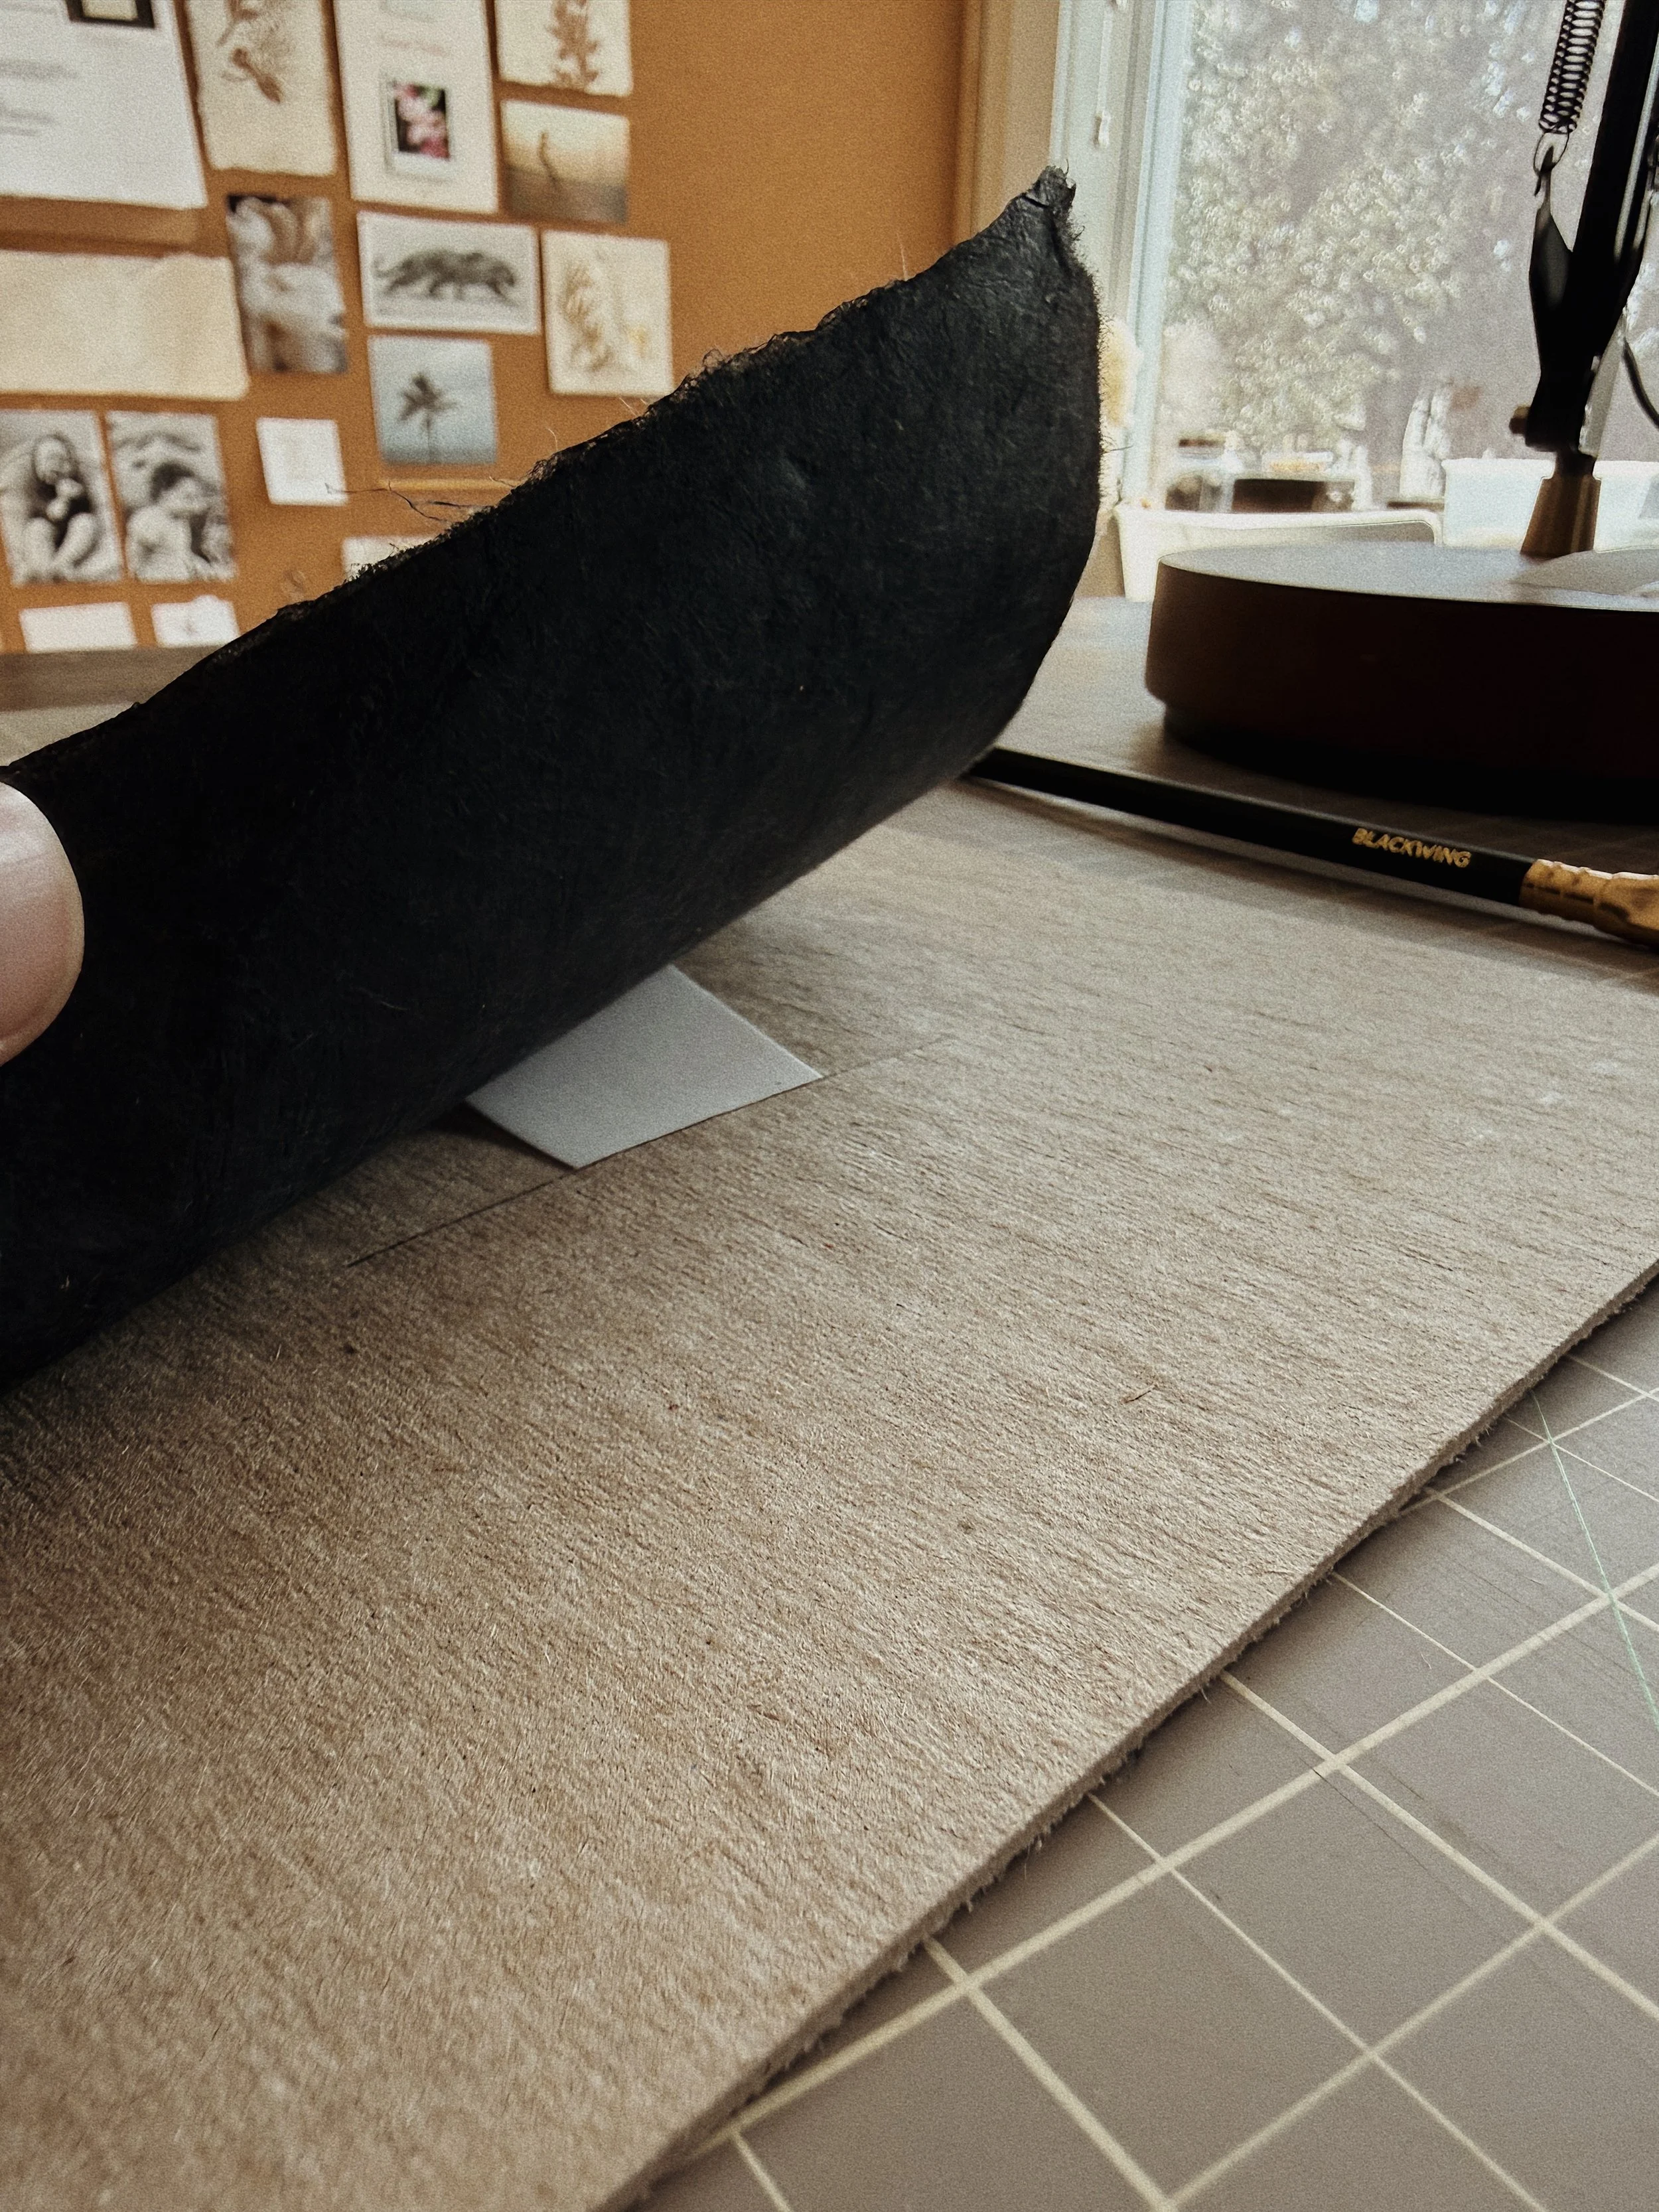
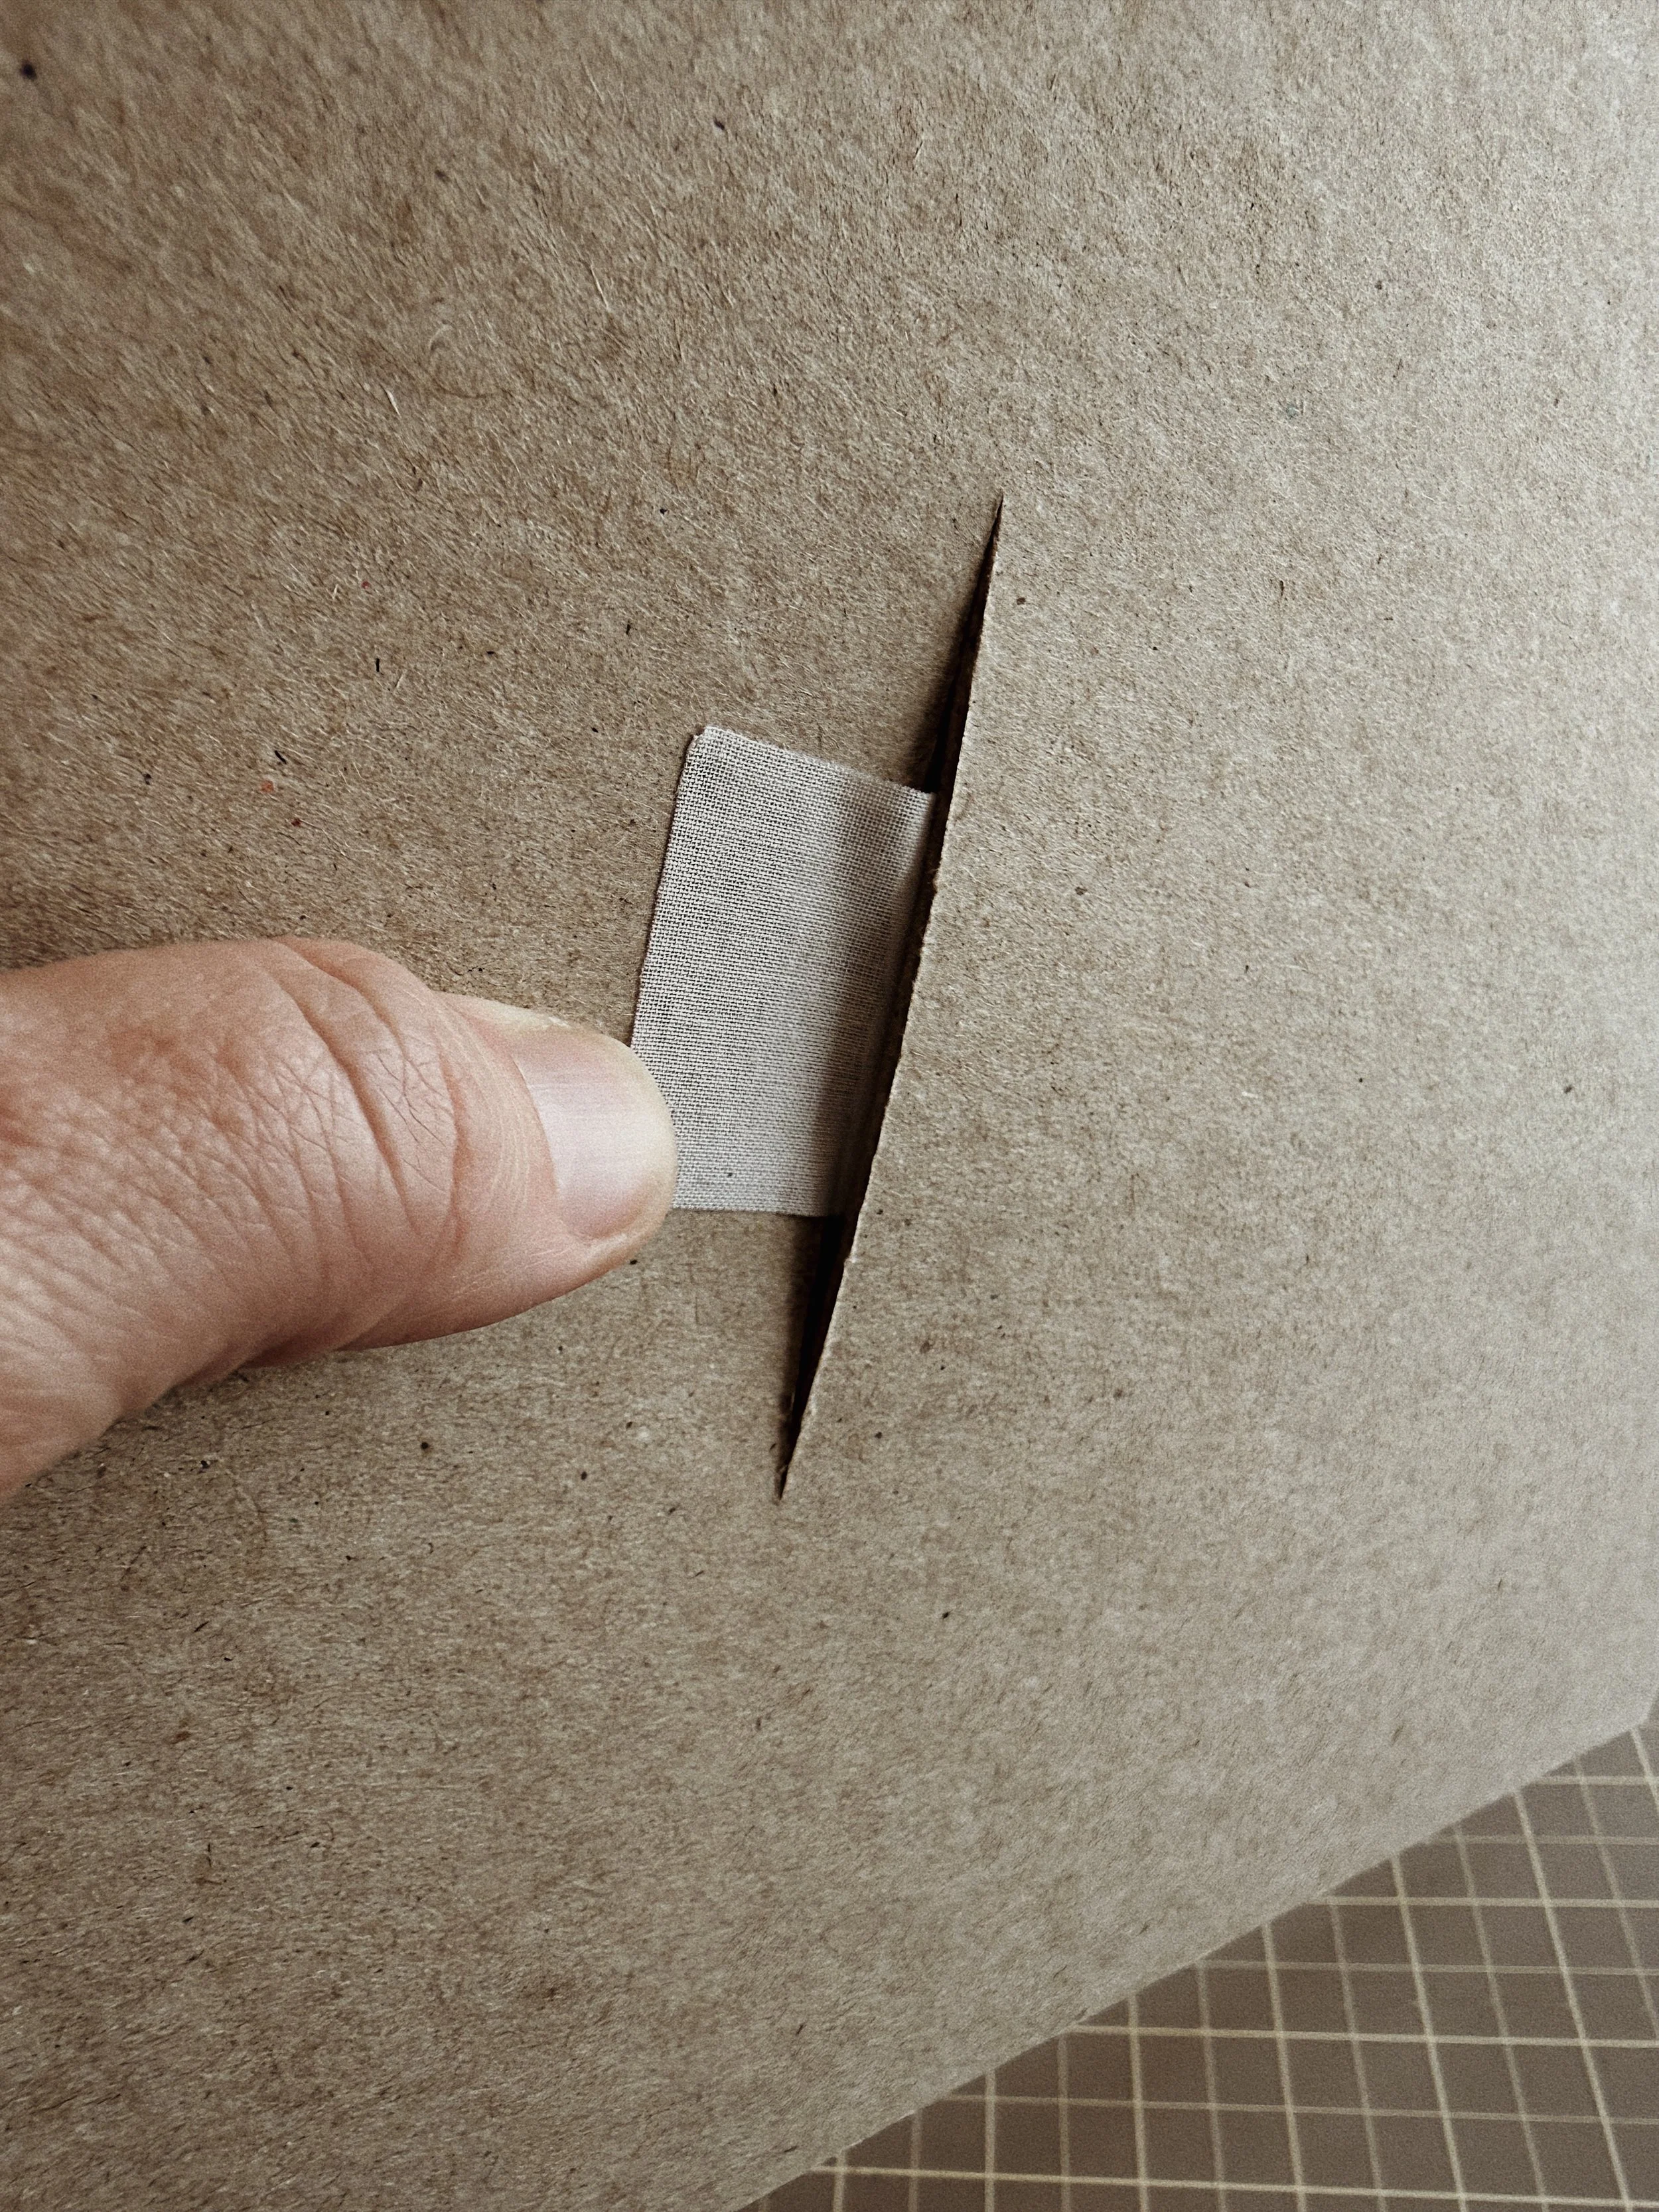
Gently grab your backing board and blade. Approximately 1/4 to 1/3 of the way cut a horizontal slit. I don’t have exact math here, but as long as the slit gives you room to center your artwork without being seen (meaning do not cut the slit as wide or wider than the art) you will be good!
Now you will feed the pieces of tape vertically through the slit half way, aiming toward the bottom of the frame/board. Line up the pieces of tape an inch or 2 from each side of the slit. Essentially this slit gives you room to adjust your art side-to-side for centering here in a few steps. Gently removed the peel-off protection from the tape only on the side that the art will stick to. Carefully recenter your art vertically and as close to horizontally as possible. Adhere the art to the half of the tape you just exposed. Now you can prop your backing and art up and adjust the alignment of the art within the slit to get it centered just right. Once you feel good about your placement, remove the remaining protection from the tape on the backside of the backing board and adhere in place.
This hinge method lets the artwork move subtly with humidity and time—preventing warping or stress.
(If you feel confused or intimidated, try these steps on practice materials first or feel free to reach out!)
Step 5: Adding Frame Spacers
Determining your spacer type needs:
If you use mat board as backing or made your own fabric backing, I’d suggest ordering clear acrylic spacers like these; some local framing shops may have the option for you to purchase only the amount you need from them, so I’d suggest looking there first!
If you used foam core as your back board, simply cut spacers to the available depth and length of all sides of your frame to match!
Once cut, place frame spacers along the inside edges of the frame. These create the necessary space between the glass and the artwork so the ink or paper doesn’t adhere over time. This step is essential, especially for handmade or textured papers.
Step 6: Reassemble the Frame
Once the artwork is hinged and spacers are in place:
Carefully clean the glass
Set it back into the frame
Place your spacers
Insert your artwork and backing in
Secure the frame closed. Work slowly here—this is where fingerprints and dust like to sneak in. I like to examine before I close down all of the frame points.
Step 7: Hang with Care—this is the best part!
Choose a place where you want to feel what the piece speaks to you. If somethings makes you feel inspired place it near where you work or create, if it makes you feel relaxed, place it near your couch, in your bedroom or any other space in your home that you find peaceful. If it makes you feel sexy, hang it in your bedroom, bathroom* or closet (if you have the wall space within).
Something to keep in mind, try to place where temperature and humidity remain fairly steady and out of direct sunlight, this will aid in the longevity and integrity of the piece.
*Bathrooms are usually okay if there is good airflow and ventilation—but when in doubt, trust your instinct or reach out.
Final Notes
Float framing is meant to feel gentle and loose. If something feels forced, too tight, or overly precise—it usually is. Trust your instinct and listen to your soul here. Let the artwork sit. Let it be seen. Let it be felt. If you’d like a few more ideas on ways to style your frames, view my Pinterest board!